
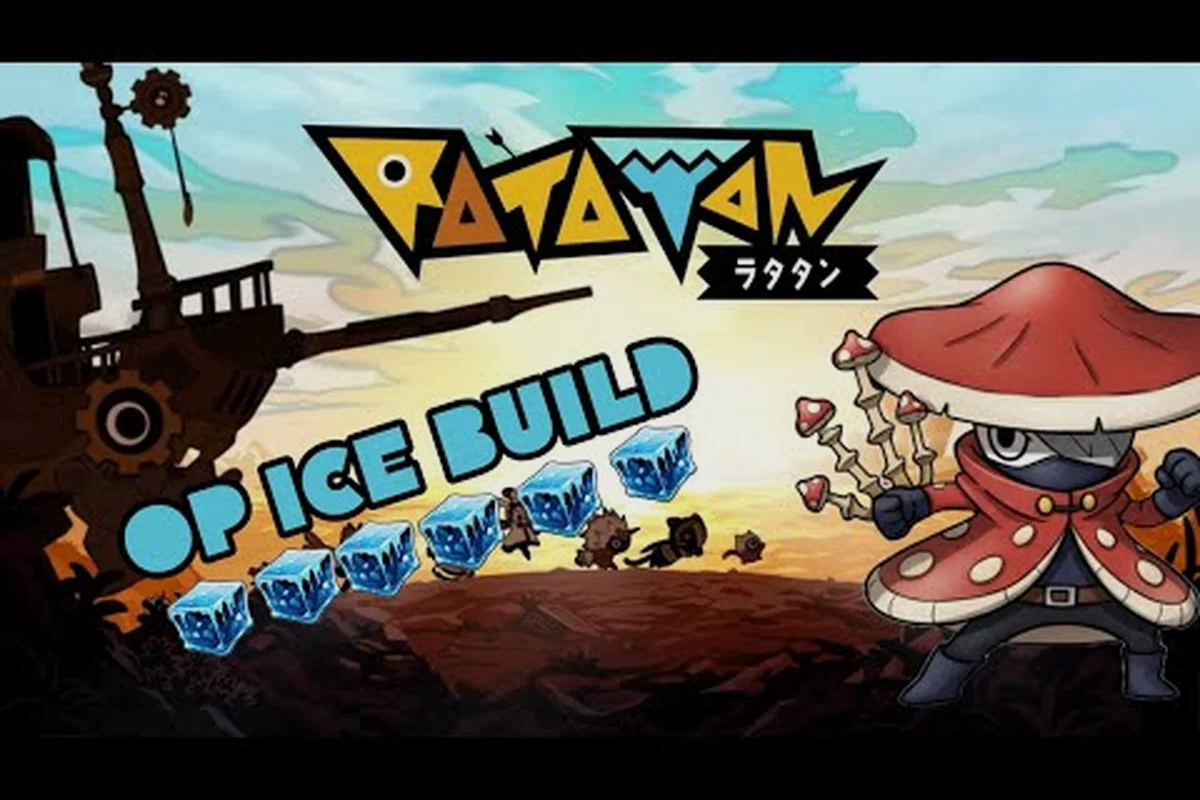
Elemental Force is the layer of the Ratatan combat system that decides what happens when your rhythm commands line up with a Ratakaruta's affinity. Choosing the right elemental force turns a basic beat combo into a screen-clearing payoff, and choosing the wrong one wastes your Fever meter on minimal damage. After the 1.0 full release, the developers tightened the resistances across bosses and the late-episode minibosses, which made the gap between a tuned elemental force build and a generic one noticeably wider than it was during Early Access.
This Ratatan elemental force guide walks through every element that ships in the game, breaks down the damage profile and the rhythm timing that activates each one, and shows the unlock path so you are not stuck farming the wrong stages. By the end you will know which force fits a beginner rhythm, which one carries an advanced build, and where each force sits on the ratatan ratakaruta ranked by element tier list.
How Elemental Force Works in Ratatan
Elemental Force is a property baked into each Ratakaruta, and it is what your party attacks with during the Fever phase. Every Ratakaruta has one primary elemental force and one secondary affinity, and the two determine both the damage multiplier against an enemy type and the bonus effect that procs when your Fever gauge fills.
The basic rhythm loop is unchanged from the Patapon lineage: the four drum commands (Pata, Pon, Chaka, Don) push your squad forward, attack, defend, and jump, while a steady beat keeps the combo timer alive. When the Fever gauge fills, your party releases a chained attack that uses the elemental force of the lead Ratakaruta, and the secondary affinity of the support adds a small bonus proc on top.
| Elemental Force | Primary Effect | Secondary Trigger | Best Rhythm Window |
|---|---|---|---|
| Fire | Burn damage over 4 seconds | Defense break on first tick | 8-beat Fever window |
| Water | Slow target movement by 35% | Healing reduction on proc | 8-beat Fever window |
| Ice | Freeze for 1.5 seconds | Critical hit bonus on shatter | 6-beat Fever window |
| Poison | Damage over 6 seconds | Defense shred stacks twice | 10-beat Fever window |
| Thunder | Chain lightning to nearby enemies | Stun on final hop | 8-beat Fever window |
| Wind | Knockback wave | Fever extension bonus | 8-beat Fever window |
Because the rhythm window differs, the choice of element is not just about which enemy you fight, it is about how reliably you can hold the beat. Ice's shorter 6-beat window punishes a sloppy combo, while Poison's 10-beat window forgives a missed command but pays for that forgiveness with a longer ramp.
A second layer is the elemental resistance that every boss and miniboss carries. According to community data posted on the r/Ratatan subreddit, late-episode bosses in 1.0 typically have 30% resistance to their own element and 0% to their counter, so matching the wrong force is a 30% damage loss before the rhythm timing even matters.
Every Elemental Force and How to Get It
Unlocking a new elemental force in Ratatan is gated behind two steps: finding the Ratakaruta that carries it, then leveling that Ratakaruta to the bond threshold where the force becomes active in Fever. The full Ratakaruta list lives in the ratatan best build guide, and the table below summarizes the unlock routes for each force.
| Force | How to Get Elemental Force | Bond Level Required | Where to Farm |
|---|---|---|---|
| Fire | Defeat Episode 2 boss "Inferno Gate" | Bond 3 | Episode 2, Stage 4-2 |
| Water | Clear Episode 1 bonus stage | Bond 2 | Episode 1, Stage 3-3 bonus |
| Ice | Trade 30 Frozen Tokens at the hub vendor | Bond 4 | Hub vendor, daily reset |
| Poison | Defeat Episode 4 miniboss "Venom Drum" | Bond 3 | Episode 4, Stage 2-1 |
| Thunder | Roll a Thunder-typed Ratakaruta from the gacha | Bond 5 | Gacha banner (limited) |
| Wind | Complete the Wind Trial in Welcome Mode | Bond 2 | Welcome Mode, Trial 7 |
The fastest way to get elemental force across your roster is to focus on one early-game element and bring it to Bond 5 before branching out. Players on the Steam Community guides index report that Fire and Water are the most reliable first picks because their Ratakaruta drop from the same Episode 1-2 progression, while Ice requires the daily vendor grind and Thunder is gated behind gacha luck.
Fire and Burn Stacking
Fire is the most aggressive element in the early game, and it is the first Ratatan fire build most players assemble. The Burn damage ticks four times over four seconds, and each tick snapshots your current attack stat, so buffs applied right before Fever stay on the burn. The defensive break on the first tick is what makes Fire a top pick against bosses with high armor, because breaking defense mid-Fever lets the rest of the combo land unmitigated.
The standard Fire combo is Pata-Pata-Pata-Pon during the build phase, then Chaka-Chaka-Don-Don to enter Fever, then a held Pata-Pon-Chaka-Don for the burn release. Players on the r/Ratatan subreddit note that the rhythm window is forgiving because the burn ticks continue even if your combo timer drops, which is the key reason Fire is recommended for beginners who are still cleaning up their timing.
Water and Slow Pressure
Water is the answer when the boss moves too much to land a clean combo. The 35% slow lets your party land follow-up hits that would otherwise miss, and the healing reduction on proc shuts down bosses that try to recover health during the Fever window. A standard Ratatan water build pairs a Water primary with a Thunder secondary so the slow stacks on top of a stun, locking the boss in place for the full Fever chain.
Water is also the safest force for farming Episode 1 bonus stages, because the slow keeps the bonus enemies from scattering while you collect drops. Community data suggests the Water Ratakaruta drops at roughly 8% per clear on the bonus stage, which is the highest drop rate among the early-game elements.
Ice and the Crit Window
Ice is the highest payoff element when it lands, but it is also the most punishing if your rhythm slips. The freeze locks the boss for 1.5 seconds, and the crit bonus on shatter multiplies your next attack by 1.8x. Because the rhythm window is only 6 beats, Ice demands a clean combo, and any missed drum command costs you both the freeze and the crit window.
A standard Ratatan ice build leans on a short, sharp combo: Chaka-Chaka-Don to enter Fever, then a single Pata-Pon to release the freeze. Once the shatter lands, you switch to your highest-damage Ratakaruta for the crit follow-up. The trade-off is that Ice is not a great farming element, because frozen enemies stop dropping pickups for the duration of the freeze, so most players swap to Fire or Water for grinding runs.
Poison and the Long Game
Poison is the element you reach for when the boss is a damage sponge and you have a long Fever window to work with. The damage over 6 seconds ticks 6 times, and the defense shred stacks twice, which means a well-timed Poison Fever cuts boss armor by 40% for the rest of the encounter. The downside is the 10-beat rhythm window, which punishes any break in the combo.
Poison is the pick for solo runs where you need every point of damage, and it is also the most efficient element for the ratatan weapons list grind because the defense shred lets lower-rarity weapons clear content they would otherwise fail against. Community testing on the Steam discussions shows that Poison + a fast-attacking Ratakaruta duo clears Episode 4 minibosses roughly 20% faster than Fire on the same gear.
Building Around Your Chosen Force
The Ratatan best elemental force for your party depends on three things: your rhythm accuracy, the enemy you are fighting, and the secondary Ratakaruta you pair with the primary force. The table below maps common scenarios to the strongest force, based on community testing and the resistance data from the post-1.0 patch.
| Scenario | Best Force | Secondary Pairing | Why It Works |
|---|---|---|---|
| Beginner farming Episode 1-2 | Fire | Water | Burn ticks forgive missed beats |
| Boss with heavy armor | Fire or Poison | Thunder | Defense break or shred stacks |
| Fast-moving miniboss | Water | Ice | Slow + freeze locks the target |
| Late-episode damage sponge | Poison | Fire | Long ramp + burn follow-up |
| Gated content behind crits | Ice | Wind | Freeze + knockback secures crit window |
| Multi-target wave | Thunder | Wind | Chain lightning + knockback spread |
A common mistake is to stack two of the same element in a duo, which looks strong on paper but loses the secondary proc. The secondary affinity only fires when the secondary Ratakaruta is a different element, so a Fire + Fire duo skips the defense break bonus that a Fire + Water duo would land. Players who want to dig deeper into duo composition should check the ratatan best build guide for the full Ratakaruta pairing chart.
Synergy With Weapons and Characters
Elemental Force does not interact directly with weapon rarity, but the weapon's attack speed and the Ratakaruta's rhythm window have to match, or you will lose Fever timing. Slow two-handed weapons pair well with Poison and Fire because the long Fever window gives the swing time to land, while fast dual-wield weapons pair with Ice and Water because the short window rewards rapid hits.
Character choice matters less for the elemental proc itself and more for the Fever fill rate. Characters with high combo bonuses, like the drummer class, fill the gauge faster, which lets you release the elemental force more often per encounter. A full breakdown of which ratatan characters list entry fits each rhythm role is worth reading if you are still choosing your squad.
Picking the Best Force for Your Playstyle
The Ratatan best elemental force question has no single answer, but there is a clear best answer for each playstyle. The chart below breaks down the recommendation by player type, and it is the same chart that high-rank players on the r/Ratatan subreddit reference when new players ask which element to commit to first.
| Playstyle | Recommended First Force | Reason |
|---|---|---|
| Casual / rhythm learner | Fire | Forgiving burn, easy Fever window |
| Speedrunner | Water | Slow keeps clears fast, highest drop rate |
| Boss hunter | Fire or Poison | Defense break or shred cuts boss time |
| Completionist | Ice | Highest damage ceiling when timed well |
| Solo grinder | Poison | Defense shred lets lower gear clear content |
| Co-op support | Thunder | Chain lightning hits all party targets |
If you are still learning the rhythm, Fire is the safest pick because the burn ticks continue even after your combo timer ends, so a single broken Fever chain still deals meaningful damage. Speedrunners should ignore Fire and go straight to Water, because the slow lets you skip enemy attack patterns that would otherwise cost time. Boss hunters benefit from Fire's defense break against early bosses and Poison's shred against late-episode sponges, so most players end up leveling both.
Common Mistakes When Choosing an Elemental Force
The first mistake is matching the boss's element, which is the opposite of what you want. Bosses carry 30% resistance to their own element, so using Fire against a Fire boss cuts your damage by a third. Always check the boss's elemental affinity in the pause menu and pick the counter element.
The second mistake is leveling the wrong Ratakaruta to Bond 5 first. Because the bond threshold gates whether a force is active in Fever, leveling a Ratakaruta that you do not plan to use in your main duo wastes the farming time. Stick to one primary force and one secondary until both are at the bond threshold where their proc is reliable, then branch out.
The third mistake is ignoring the rhythm window. Ice and Poison demand clean combos, and players who cannot hold a steady beat will get more value out of Fire or Water even if the damage ceiling is lower. Practice the rhythm in Welcome Mode before committing to a high-skill force.
How to Level and Test Each Force
Once you have unlocked a force, the next step is to bring it to the bond threshold where it actually fires in Fever. Each Ratakaruta gains bond XP from any encounter it participates in, with a bonus for being the lead Ratakaruta during the Fever release. The fastest bond grind is the Episode 1 bonus stage on repeat, because the stage is short, has no boss, and the Water Ratakaruta that drops there also feeds the bond XP for your Water duo.
Testing a force in combat is the only way to know if it fits your rhythm. Open Welcome Mode, pick the trial that matches the force you just unlocked, and run the trial three times with each Ratakaruta that carries that force. The Ratakaruta whose rhythm window feels natural is the one you should commit your bond XP to.
Community testing on the Steam Community discussions board also shows that the post-1.0 balance patch adjusted the bond XP curve, so a Ratakaruta that felt grindy in Early Access is faster to level now. If you are returning from the 0.7 build, your old bond levels may also have been partially carried over, so check the character screen before re-farming.
Frequently Asked Questions
What is the best elemental force for beginners in Ratatan?
Fire is the best starting force because the burn damage ticks four times over four seconds and continues even if your combo breaks, so a single missed drum command does not waste the Fever. Pair a Fire primary with a Water secondary to pick up the slow proc on top of the burn.
How do I unlock a new elemental force?
Each force is tied to a specific Ratakaruta, and the force only becomes active in Fever once that Ratakaruta reaches the bond threshold listed in the unlock table. Farm the matching stage, level the Ratakaruta, then return to the hub to confirm the force shows in the Fever preview.
Is Ice better than Fire for boss fights?
Ice has a higher damage ceiling because the shatter crit multiplies the follow-up attack by 1.8x, but Fire is more consistent because the rhythm window is longer. Pick Ice if your combo accuracy is above 90%, otherwise Fire is the safer pick.
Does elemental force work in co-op?
Yes, and it stacks across party members. A four-player co-op run with two Fire, one Water, and one Thunder Ratakaruta applies all three procs during the shared Fever window, which is why co-op is the fastest way to clear late-episode bosses.
Can I change elemental force mid-run?
No, the force is locked to the lead Ratakaruta for the encounter. To swap forces, you have to leave the stage, change your lead Ratakaruta, and restart. Save before a boss if you want to test multiple forces on the same encounter.