
Bosses
Ratatan boss guide for all eight Dark Ratatan, the world mid-bosses and the Episode 4 final boss: attack patterns, phase events, safe windows and Hard Boss tips.
Introduction
Ratatan bosses are where the rhythm loop stops being forgiving. Every major fight is built around telegraphed patterns you must answer on the beat, and the difference between a clean clear and a wipe is usually whether your command window lined up with the moment a boss commits. The 1.0 release assembled all eight Dark Ratatan, added World 6 and closed the story arc with the Episode 4 final boss, while each world still hides mid-bosses such as Captain Barbatoid of the Paraddean Sea, Scorpswoosh Bill of Yeehawler Mountain, Wagoon, Dekadon the grumpy dragon and Fortrun's counterpart The Jolly Hermit. This hub covers attack patterns, phase events, safe damage windows and the Hard Boss modifier, so you can learn what each fight actually demands before you commit a run to it.
Ratatan Boss Roster Overview
| Boss | Type | Key Mechanic | First Appears |
|---|---|---|---|
| Shellshock | Dark Ratatan | Turtle pattern fought through story events rather than a boss menu | Episodes 3 and 4 |
| Panda Monium | Dark Ratatan | Added with the final world, uses its own dedicated battle theme | 1.0 update |
| The Bamboozler | Dark Ratatan | Bamboo shoot fighter in the later episode rotation | Late episodes |
| Tangletung | Dark Ratatan | Chameleon patterns that arrive from Episode 3 onward | Episode 3 |
| Midnight Knight | Dark Ratatan | Pre-1.0 roster member, several skills fixed in v1.1.9 | Early roster |
| Captain Barbatoid | World mid-boss | Paraddean Sea captain leading the Swashbuckling Mantaneers | Paraddean Sea |
| Scorpswoosh Bill | World mid-boss | Stinger Diggers leader in the Yeehawler Mountain canyons | Yeehawler Mountain |
Boss Dossiers
Shellshock
Turtle Dark Ratatan added with Episodes 3 and 4
Panda Monium
Panda Dark Ratatan that joined the roster in the 1.0 update
Midnight Knight
Pre-1.0 Dark Ratatan with a notable fix history
World Mid-Bosses
Barbatoid, Scorpswoosh Bill, Wagoon, Dekadon and The Jolly Hermit
The Bamboozler
Bamboo shoot Dark Ratatan in the later episode rotation
Tangletung
Chameleon Dark Ratatan that arrives from Episode 3 onward
Final Boss (World 6)
The Episode 4 climax that triggers the true ending
Core Mechanics
Boss fights follow the same rhythm grammar as the rest of Ratatan but punish mistimed inputs far harder. Attacks are telegraphed, and the correct answer is usually a retreat command issued on the beat so your Cobun line clears the hitbox while your Ratatan repositions for the next window. Phase events change the rules rather than just the damage: the Hard Boss modifier escalates the same encounter, and the Target Timer phase event adds a timed objective that can hide the reward chest if you miss it. Several bosses also punish greed directly, which is why defensive Ratakaruta and protection-oriented characters buy so much margin. Because the Dark Ratatan arrived incrementally through the story, later roster members assume you have already learned the earlier patterns, and the final boss in World 6 tests all of it at once before rolling the ending.
Advantages
Learning boss patterns pays off more in Ratatan than raw stat gains, because a clean run costs no materials while a wipe costs the whole adventure. Every fight has a small number of safe windows, and once you know where they fall the encounter becomes a matter of positioning rather than reaction speed. That makes boss knowledge the friendliest form of progression in the game for free players: you can out-execute a stat check without spending a token. The roster is also generous about access, since the Dark Ratatan are reached through story events rather than a separate boss menu, so you never have to hunt for an unlock trigger. And because the Reward chest and phase objectives are tied to performance, better execution directly compounds into better gear.
Challenges
Boss guides age quickly in a game that shipped a long fix list in v1.1.9, and several skill behaviours changed after launch, including one Midnight Knight fix that stopped its abilities landing on the mezzanine when they should not have. Health values and damage numbers are also frequently community-derived rather than published, so treat exact figures as approximate and prioritise the pattern description over the number. Phase events add randomness to the reward side: the Target Timer can hide a chest through no fault of your execution if the timer is tight for your build. Finally, the Hard Boss modifier is a straight escalation rather than a new fight, which means a strategy that barely clears the normal encounter will usually fall over rather than adapt.
Frequently Asked Questions
How many Dark Ratatan are in Ratatan?+
What is the Hard Boss modifier?+
What is the Target Timer phase event?+
Quick Tips
Answer telegraphs with retreat, not with damage. The most common boss mistake is holding the line through a clearly telegraphed attack. Issue the retreat command on the beat, let the Cobun clear the hitbox and re-engage during the recovery window instead of trading hits you cannot afford. In co-op, call the retreat so the whole party clears the hitbox on the same beat instead of scattering in four directions.
Learn the fight before you farm it. Boss rewards scale with performance and phase objectives, so a slow clean clear beats a fast failure every time. Spend a few attempts purely learning where the safe windows fall, then bring your upgraded loadout once the pattern is muscle memory. Bank the reward chest before you chase the next boss, because a wipe costs the entire adventure and not just the attempt.
Respect the Target Timer as a mechanic. Missing the timed objective can hide the reward chest, so plan your burst around it rather than treating it as an optional extra. Groups should call the timer out loud and commit damage to it together instead of each player chasing their own target.
Featured
Ratatan Boss Guide: Boss List, Attack Patterns & 1.0 Order
Master every Ratatan boss with a complete encounter list, attack pattern breakdowns, and rhythm timing tips for normal, hard, and Dark Ratatan fights in Version 1.0.
Ratatan Boss Music: Track Order, Phase Events & Hard Boss Beats
Tour the Ratatan boss music soundtrack by fight order, from opening rhythms to the Dark Ratatan target-timer phase events that define the hardest encounters.
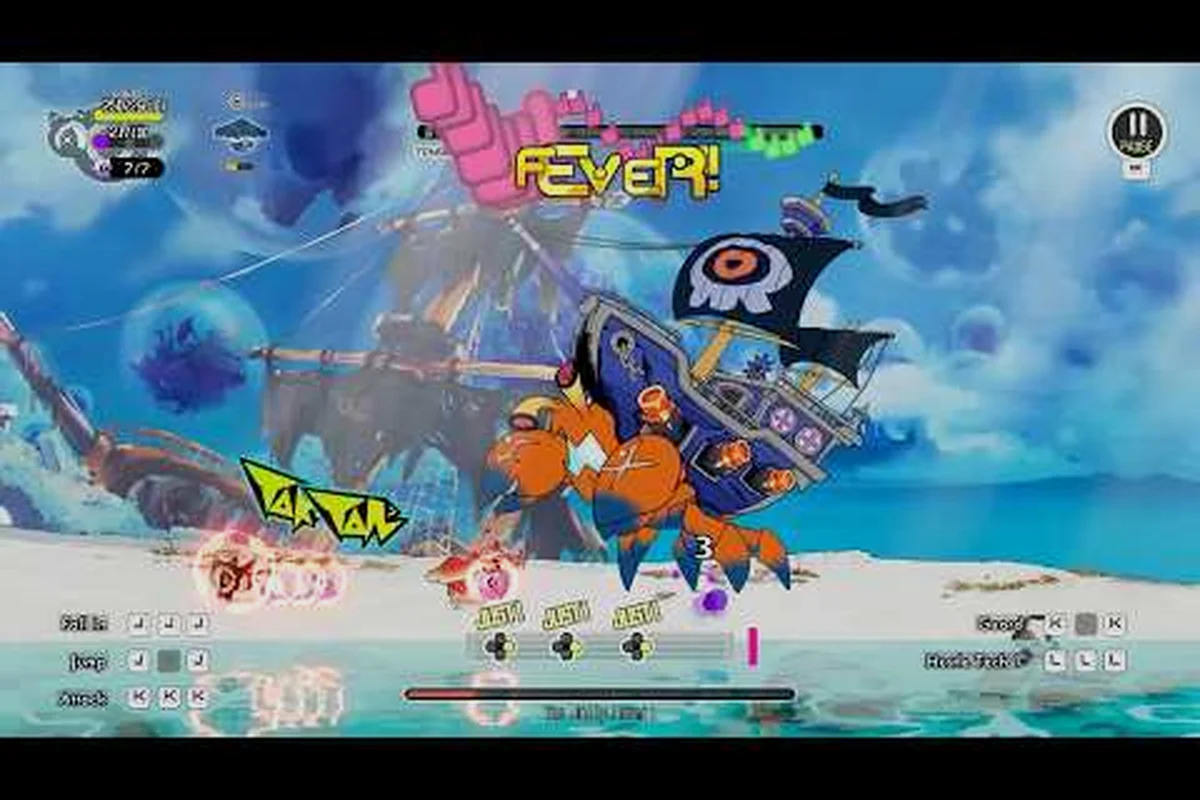
Ratatan Boss Weakness: Elemental Hits, World 6 Rewards & Drops
Expose every Ratatan boss weakness with elemental matchups, World 6 boss unlock steps, and a drops table showing exactly what each hard fight rewards.
All Articles
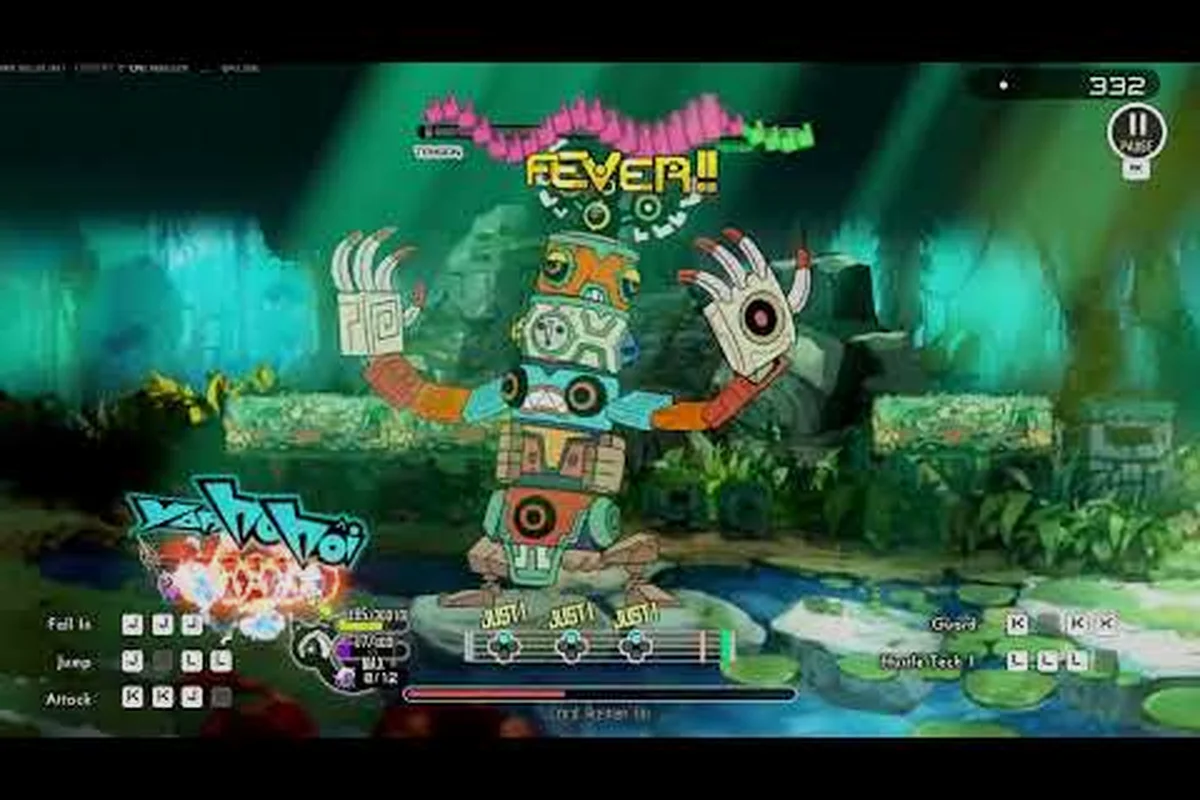
Ratatan Captain Barbatoid Boss: Phase Patterns & Hard Mode
Master the Ratatan Captain Barbatoid boss with full attack pattern breakdowns, hard mode adjustments, and rhythm timing tips for the toughest 1.0 fight.
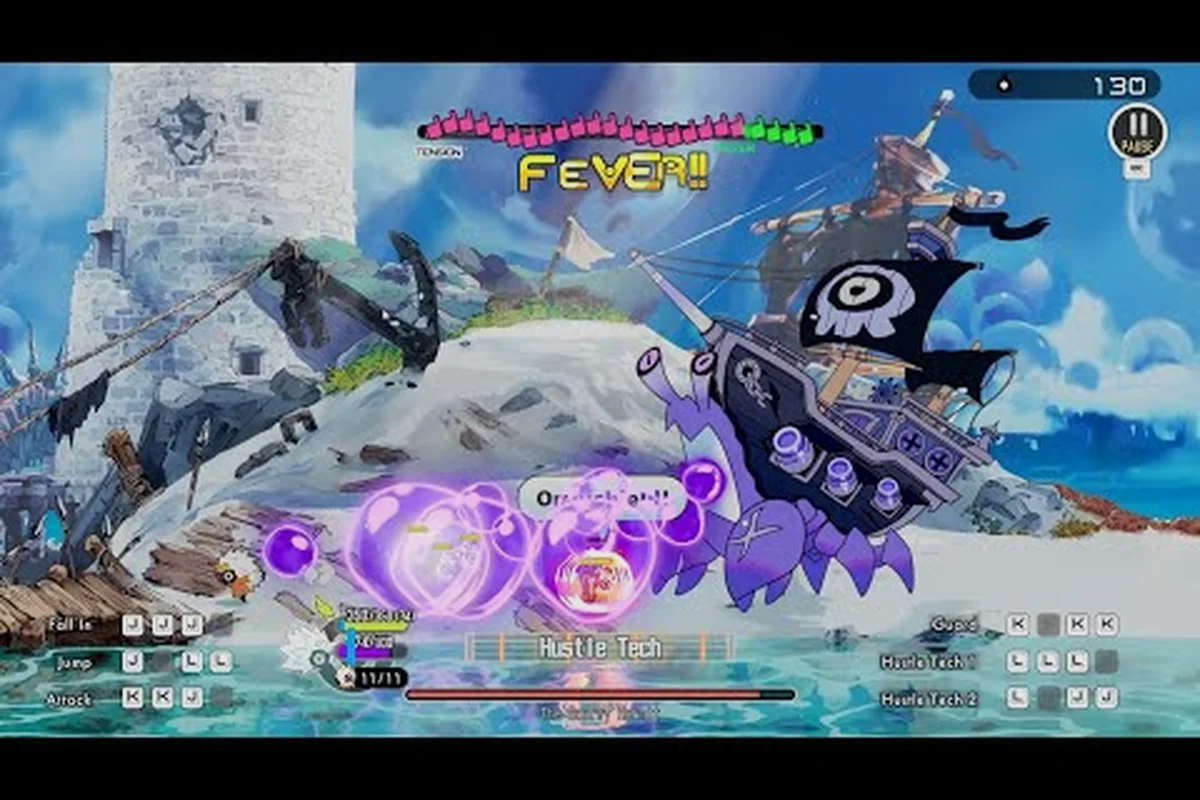
Ratatan Easiest Boss: Farm Routes and Reliable First Clears
Pick the easiest Ratatan boss to farm, learn how to read each attack pattern, and master the dodge windows that make repeat runs clean and efficient.
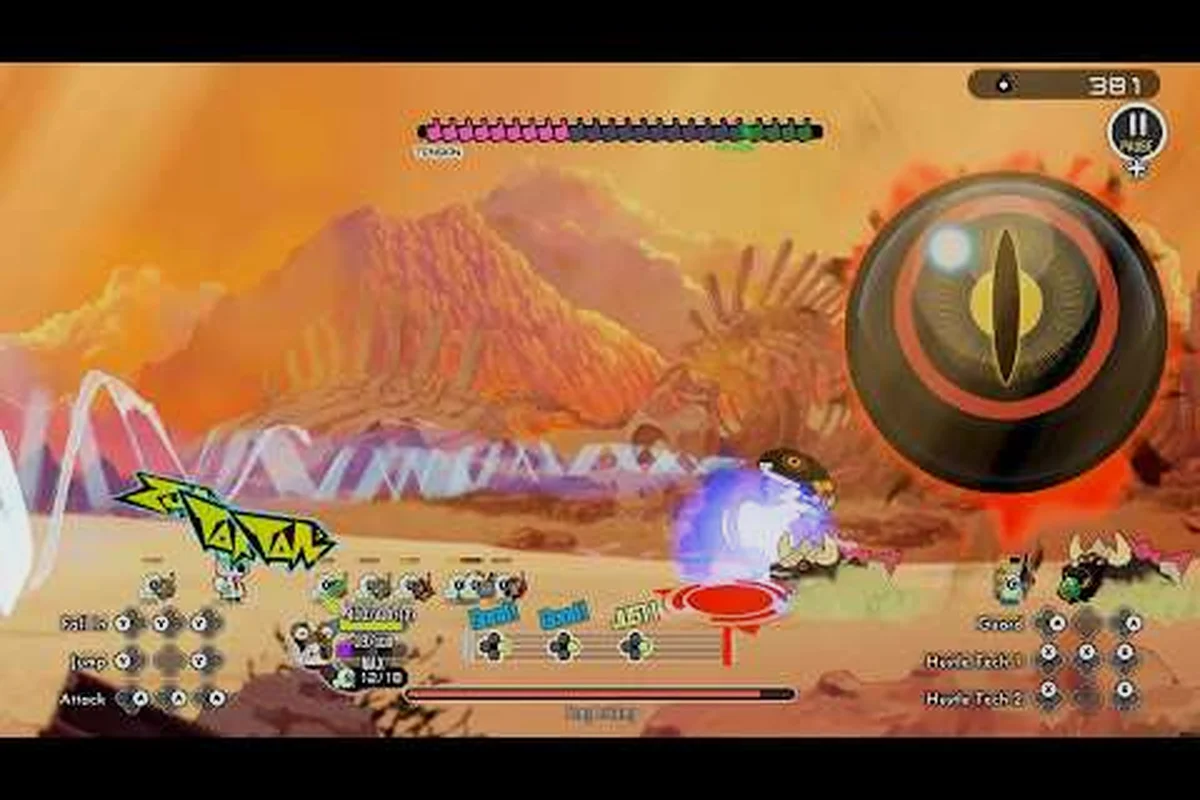
Ratatan Endgame Bosses: Dark Ratatan, Mezzanine & Teshita
Survive Ratatan's toughest endgame bosses with health values, attack pattern breakdowns, and rhythm timing tips for the Mezzanine, Teshita, and Dark Ratatan fights.
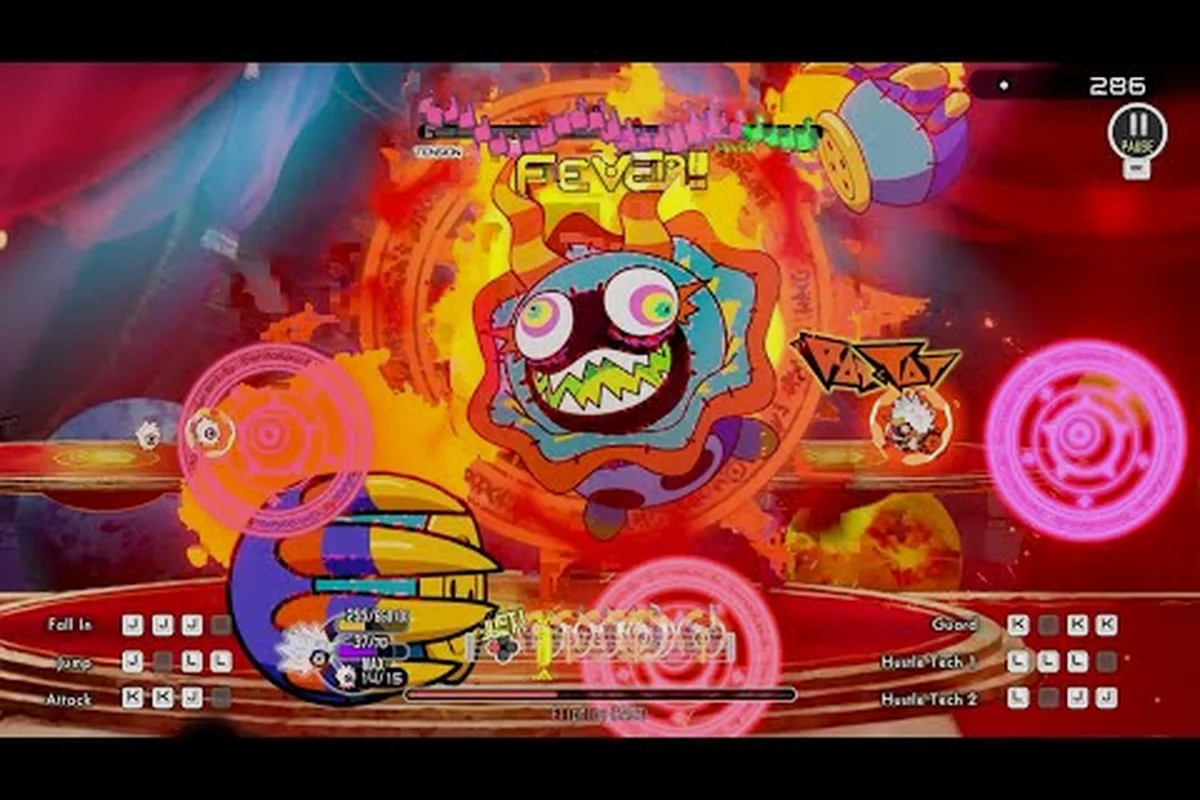
Ratatan How to Beat Final Boss: Shellshock, Pandamonium & More
Learn how to beat every Ratatan final boss, from Shellshock to Pandamonium and the Bamboozler, with rhythm timing tips that survive every phase transition.