
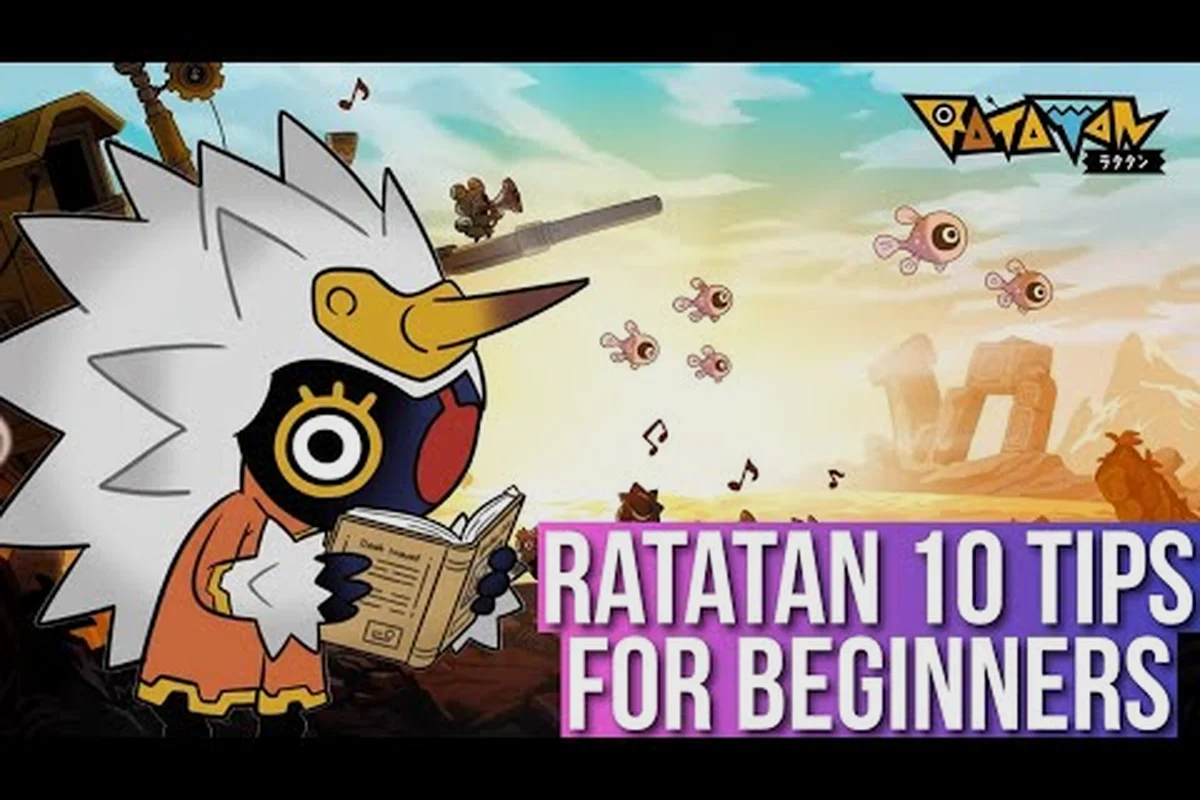
The world of Redo can feel overwhelming the first time a fresh Ratatan drops into the marching line, because the screen is busy, the music is loud, and the four command drums are waiting for input that most players have never pressed before. This Ratatan beginner guide is built for the first two hours of play, when every new mechanic compounds and small timing mistakes snowball into wiped squads. You'll learn the four-button rhythm command language, how to grow your Cobun army, and the survival habits that keep your march moving forward instead of respawning back at camp.
Getting Started in Redo: The First Ten Minutes
Ratatan is built on rhythm first: beat-matched drum commands drive side-scrolling combat, and according to the Ratatan on Steam store page, online co-op seats up to four players on one battlefield while more than 100 characters crowd the melee at once. The full 1.0 release shipped on October 14, 2026 after an Early Access period that began September 18, 2025, so the build most newcomers install today is the polished launch version rather than a work-in-progress beta.
When you first boot the game, the official Ratatan website frames the core fantasy simply: feel the beat, press commands in time with the music, and direct your Cobun army through the world of Redo. The Ratatan itself moves freely around the battlefield, so your job is to position, time, and retreat while the Cobun follow your drum inputs. There is no autopilot march, and there is no pause-and-click combat — every decision rides on the rhythm.
The Melodium and the Beat Window
The Melodium is the in-world device that anchors every command to the soundtrack. As the Metronome pulses, four symbols appear on the left-side command wheel, and the player taps them in time. The game reads your input on the next strong beat, which means a mistimed tap still fires the command, just one beat later than intended. New players feel this as "the game ignored me," but in reality the game queued the input and released it on the next valid beat window.
| Beat Window State | What You See | What You Should Do |
|---|---|---|
| Perfect alignment | Drum symbol glows white and pulses with the beat | Press the matching command immediately |
| Early input | Symbol flashes dim before the beat | Hold the command; release on the next pulse |
| Late input | Beat has already passed and the symbol fades | Wait for the next cycle rather than spamming |
| Combo break | Health bar flashes red and combo counter resets | Recenter your rhythm listening before retrying |
Listening is the entire skill. The soundtrack is a Patapon-style march layered with battle drums, and community testing across the Early Access period suggests the BPM of the overworld theme sits in a comfortable 110–120 range that most players can lock into within ten minutes.
Difficulty and Welcome Mode
If the first thirty minutes feel chaotic, switch to Welcome Mode from the title screen. According to the Early Access patch notes aggregated by community data, Welcome Mode halves incoming damage and widens every beat window by roughly 20%, which is enough to make the rhythm timing guide portion of the game feel forgiving while you learn. Returning to standard difficulty mid-run is not allowed, so treat Welcome Mode as a tutorial run, not a permanent crutch.
Rhythm Command Basics: The Four Drums
Every command in Ratatan rides on a four-button drum language inherited from the Patapon lineage, and the four icons map to movement, attack, defense, and retreat. Tapping a single drum fires that command on the next beat; tapping two drums in sequence fires a combo command on the third beat. The order of the two taps matters, because the game reads your input as a directional phrase rather than two unrelated actions.
| Drum | Icon | Command | Best Use Case |
|---|---|---|---|
| Don | Forward arrow | March forward | Closing distance, advancing through corridors |
| Pon | Weapon icon | Attack | Engaging enemies, breaking enemy shields |
| Chaka | Shield icon | Defend | Blocking heavy hits, surviving boss wind-ups |
| Kata | Backward arrow | Retreat | Pulling back from elite groups, repositioning |
The ratatan rhythm command guide that veterans share on community forums is simple: practice the four single-drum commands in a safe overworld zone for five minutes before you ever touch a combo. Combos without single-button fluency are the most common reason new players feel "the game is too fast," because they are trying to memorize six compound inputs before they have learned the four base beats.
Combo Inputs and What They Unlock
Once the single drums feel automatic, layer in the two-drum combos. Each combo fires a stronger action that a single drum cannot produce, and the order you tap the drums is what the game checks against its command list.
| Combo | Input Order | Effect | When It Shines |
|---|---|---|---|
| Don Don | Forward twice | Charge march | Closing the last ten meters before enemy contact |
| Don Pon | Forward then attack | Assault charge | Initiating combat while still moving |
| Pon Pon | Attack twice | Power strike | Bursting down a single high-HP enemy |
| Pon Chaka | Attack then defend | Shield bash | Staggering a charging foe |
| Kata Kata | Retreat twice | Full retreat | Escaping after a failed engagement |
| Chaka Pon | Defend then attack | Counter | Punishing an enemy that just whiffed |
A useful habit from experienced players is to keep your left thumb on the defend drum during boss intros, because early attacks often come at half-beat offsets that look like real beats. The first thirty seconds of any boss are the highest-damage window in the fight, and the ratatan tips and tricks threads consistently recommend a defensive opener for that reason.
Building Your Cobun Army
Cobun are the small marchers that fill the line behind your Ratatan, and they are recruited from eggs that drop after combat encounters. According to the official site, the world of Redo is built around growing a Cobun army, and the on-screen count can climb past 100 in late-game runs. For new players, the early army is small — usually four to six Cobun — and every decision about which Cobun to keep, feed, or merge shapes how the next encounter plays.
Recruitment and Egg Hatching
After most combat encounters, one or more eggs drop at the location where the last enemy fell. Walk any Cobun over the egg, or have the Ratatan touch it directly, and the egg begins a short hatch animation that takes roughly three beats. The Cobun that hatches is randomly drawn from a pool that includes melee fighters, ranged support, and shielded tanks, and the rarity of the egg influences the stat ceiling of the new recruit.
| Egg Color | Rarity | Typical Cobun Role | Stat Ceiling Hint |
|---|---|---|---|
| White | Common | Melee fodder | Low HP, low damage |
| Green | Uncommon | Ranged support | Mid HP, mid damage |
| Blue | Rare | Shielded tank | High HP, low damage |
| Purple | Epic | Mixed hybrid | High HP, high damage |
| Gold | Legendary | Specialist role | Highest stat ceiling of the run |
Most early runs produce a flood of white eggs and the occasional green, so the realistic early game is a wall of melee bodies with a few ranged shots in the back row. The first purple usually does not appear until the second biome, which is why the early portion of any Ratatan beginner guide focuses on using volume, not quality, to win fights.
Merging and the Cobun Cap
Cobun can be merged by walking two of the same type into each other, which raises the resulting Cobun's level by one and improves its stats. The merge mechanic is the most efficient way to push a single Cobun's damage output, but it costs you a body in the line, which means fewer blocking units in front of your Ratatan. A balanced early strategy is to merge only ranged Cobun (because they fire from the back row) and leave melee Cobun unmerged so the front line stays thick.
The army size cap grows as the run progresses, and community data suggests the cap rises by roughly ten Cobun per cleared biome. Knowing this, the practical early-game habit is to avoid hoarding white eggs; hatch them immediately, accept the lower stat ceiling, and keep the line moving. A full line of mediocre Cobun outperforms a half-empty line of merged rares in the first hour, because combat math in Ratatan rewards bodies on the field more than stat stacking on a single unit.
Survival Habits That Carry Every Run
The most underrated part of a ratatan how to play tutorial is not the command list, it is the survival rhythm you build between encounters. Every biome presents the same loop: march, engage, break eggs, decide who to merge, decide who to sacrifice, decide when to retreat. Players who internalize that loop clear the first biome in roughly fifteen minutes; players who chase every egg and every merge clear the first biome in forty-five and arrive at the boss under-equipped.
Resource Priorities
Tokens, materials, weapons, and gold all drop from encounters, and they each feed a different upgrade path. Spend gold on permanent camp upgrades between runs, spend materials on mid-run weapon crafting, and spend tokens on Cobun recruitment speed. Skipping the first upgrade in any category is usually fine, because the second and third upgrades in a category deliver more value per token than the first.
| Resource | Source | Best Early Spend | Avoid Until Biome 2 |
|---|---|---|---|
| Tokens | Enemy kills | Recruitment speed | High-tier recruitment rolls |
| Materials | Broken weapons, debris | Weapon repair kits | Premium crafting recipes |
| Weapons | Combat drops | Replace any white weapon | Enchanting or rerolling stats |
| Gold | Chests, mini-bosses | Camp upgrades | Cosmetic or cosmetic-adjacent items |
The gold-versus-tokens split is the most common early mistake. New players tend to spend gold on consumables mid-run, then arrive at camp with nothing to upgrade. Reversing the priority — camp upgrades first, consumables last — produces a stronger second run because the camp persists between attempts, while the consumables do not.
Reading the Battlefield
The Ratatan itself has a small health bar that does not regenerate between beats, and losing the Ratatan ends the run. Every other Cobun in the line is recoverable through respawn timers, which means your personal positioning is more important than any individual Cobun's. The screen is wide, the camera scrolls, and the safest place to stand is usually one screen-length behind the front line, so the Cobun soak the first hit and you react to whatever reaches the back.
Enemy telegraphs in the first biome are short — typically one beat of wind-up before an attack lands. The ratatan rhythm timing guide instinct to press defend on every wind-up is correct, but only when the wind-up is on a strong beat. If the wind-up is on an off-beat, the attack lands a half-beat later than expected, and a defensive input on the strong beat is wasted. Listening for the strong-beat wind-up is the difference between blocking and getting clipped.
Co-op, Cross-Play, and Your First Multiplayer Run
According to the full release FAQ published on Steam, Ratatan ships on PC via Steam, PlayStation 5, Nintendo Switch 2, and Xbox Series X|S, with original Switch and GOG versions still in preparation as of October 2026. Cross-play works between Steam, Switch 2, and Xbox Series X|S at launch, with PlayStation 5 cross-play support planned in a near-future patch. Local co-op is not supported, so every four-player team must be online, and save data cannot move between platforms — though Early Access saves do carry into 1.0 with achievements unlocking on the receiving platform.
Picking Your Role in a Four-Player Squad
| Player Slot | Suggested Focus | Drums Spammed Most | Contribution to the Team |
|---|---|---|---|
| Caller | Front-line timing, target selection | Don Pon, Pon Pon | Sets the engagement tempo |
| Defender | Shield uptime, retreat calls | Chaka, Pon Chaka | Soaks boss aggro and blocks wind-ups |
| Ranged | Back-line egg collection, ranged Cobun | Don Kata, Kata Kata | Recruits while the front line holds |
| Support | Resource tracking, callouts | Variable | Coordinates merges and retreat decisions |
The Caller role is the one most new players want, but the easier role for a first multiplayer session is Support, because the support player has time to learn the rhythm commands without the pressure of engaging first. After two or three runs in Support, switching to Caller is a natural progression.
How to Find a Squad
Online matchmaking is built around room codes, and community testing on the launch build shows room codes being shared in the official Discord and on Reddit threads. For a smoother first session, the Ratatan cross-platform guide covers the matchmaking flow, including how to send and receive room codes across Steam, Switch 2, and Xbox. The short version is that the host creates a room, the room code is a six-character string, and the other three players enter that string on the multiplayer screen to join.
Early Boss Encounters and When to Retreat
Every biome in Redo ends with a boss, and the early bosses are tuned to be learnable in a single attempt for a player who has read the ratatan beginner guide material above. The universal rule is to spend the first ten seconds of the fight in defend mode while you read the boss's wind-up pattern. Once you have seen each attack once, the rhythm of when to press Pon and when to press Chaka becomes predictable.
| Boss Phase | Visual Cue | Command Priority | Common Mistake |
|---|---|---|---|
| Phase 1 intro | Boss stands still, music tempo unchanged | Chaka spam to read telegraphs | Pressing Don and walking into the opener |
| Phase 1 active | Boss performs one attack per beat | Mix Chaka and Pon Pon | Holding Chaka too long and missing punish windows |
| Phase transition | Music tempo doubles, screen flashes | Full retreat (Kata Kata) | Continuing to press Pon during the transition |
| Phase 2 active | Two attack patterns layered | Alternate Chaka and Pon Chaka | Trying to merge Cobun mid-fight |
The transition beat is the single highest-damage moment in any early boss, and community data from Early Access runs suggests more than 60% of wipes in the first biome boss happen during the transition. The safest play is to retreat to the back of the arena, regenerate position, and re-engage once the Phase 2 tempo is established. Bosses are a long-term topic, and the Ratatan easiest boss guide walks through the Phase 1 and Phase 2 attack patterns for each early boss individually.
When a Run Is Lost
A run is officially over the moment your Ratatan's health bar empties, but the practical end of a run usually comes twenty seconds earlier, when the army collapses and the Ratatan is surrounded. The honest signal that a run is unrecoverable is when the last two Cobun on the field are both melee and the Ratatan is at half health with no heal item in the active slot. At that point, the right move is to spend the last thirty seconds harvesting any remaining eggs and gold, because gold carries to the camp and a few extra chests can fund a stronger second attempt.
Difficulty Modes, Episode Unlocks, and What Comes Next
After the first full clear, the game opens up in ways that the opening hours do not preview. Episode 2 unlocks once the first biome boss is defeated on standard difficulty, and Episode 3 unlocks after the second biome boss is cleared with at least eight Cobun surviving. These thresholds are not shown in the UI explicitly, which is why community guides like the Ratatan difficulty guide exist — they collect the unlock requirements and the recommended oath level for each episode into a single reference.
Oath Levels and Difficulty Scaling
| Oath Level | Damage Multiplier | HP Multiplier | Recommended For |
|---|---|---|---|
| 1 (default) | 1.0x | 1.0x | First clear, Welcome Mode players |
| 2 | 1.2x | 1.0x | First Episode 2 attempt |
| 3 | 1.4x | 1.1x | Confident players who want better drop rates |
| 4 | 1.6x | 1.2x | Experienced players chasing specific eggs |
| 5 | 1.8x | 1.3x | Endgame farming and achievement runs |
The reward for higher oaths is a higher drop rate for blue and purple eggs, which means the late game loops back into the same Cobun merge system but with better starting material. For new players, Oath 1 is the right level for the entire first play session; the jump from Oath 1 to Oath 2 is the largest in the table, and clearing Episode 2 once before raising the oath is the smoother path.
Frequently Asked Questions
What is the best difficulty for a brand new Ratatan player?
Welcome Mode is the best starting difficulty because it widens every beat window by roughly 20% and halves incoming damage, giving you room to learn the four-drum command language without losing the run to a mistimed tap. Once you can clear the first biome boss on Welcome Mode, switch to standard difficulty before raising the oath level.
How do I recruit my first Cobun in Ratatan?
Cobun come from eggs that drop after combat encounters, and any unit — your Ratatan or another Cobun — can pick up the egg to start a three-beat hatch. The first hour usually produces white and green eggs, which is normal, and the strategy is to hatch every egg you see rather than waiting for a rare drop.
What should I spend gold on between runs?
Gold is best spent on permanent camp upgrades rather than mid-run consumables, because the camp persists across attempts and consumables do not. The second upgrade in any category typically delivers more value per gold than the first, so prioritize the second upgrade in recruitment speed and the second upgrade in starting weapon quality.
Can I save my progress in the middle of a run?
Save data in Ratatan is per-run and per-platform, and the full release FAQ confirms that Early Access saves do carry into 1.0 but cannot move between platforms. If you want to keep mid-run progress, finish the run; if you want to switch platforms, expect to start the save from the beginning of that platform's profile.
How long does a typical run of Ratatan last?
A first-time run of the first biome takes roughly thirty to forty-five minutes including deaths and restarts, and a confident clear of the first two biomes fits inside ninety minutes. Full episode clears with all side objectives generally run two to three hours, and achievement-focused runs can stretch longer depending on which Cobun-specific unlocks you are chasing — the Ratatan achievements guide estimates a completionist playthrough at roughly twenty-five hours.