
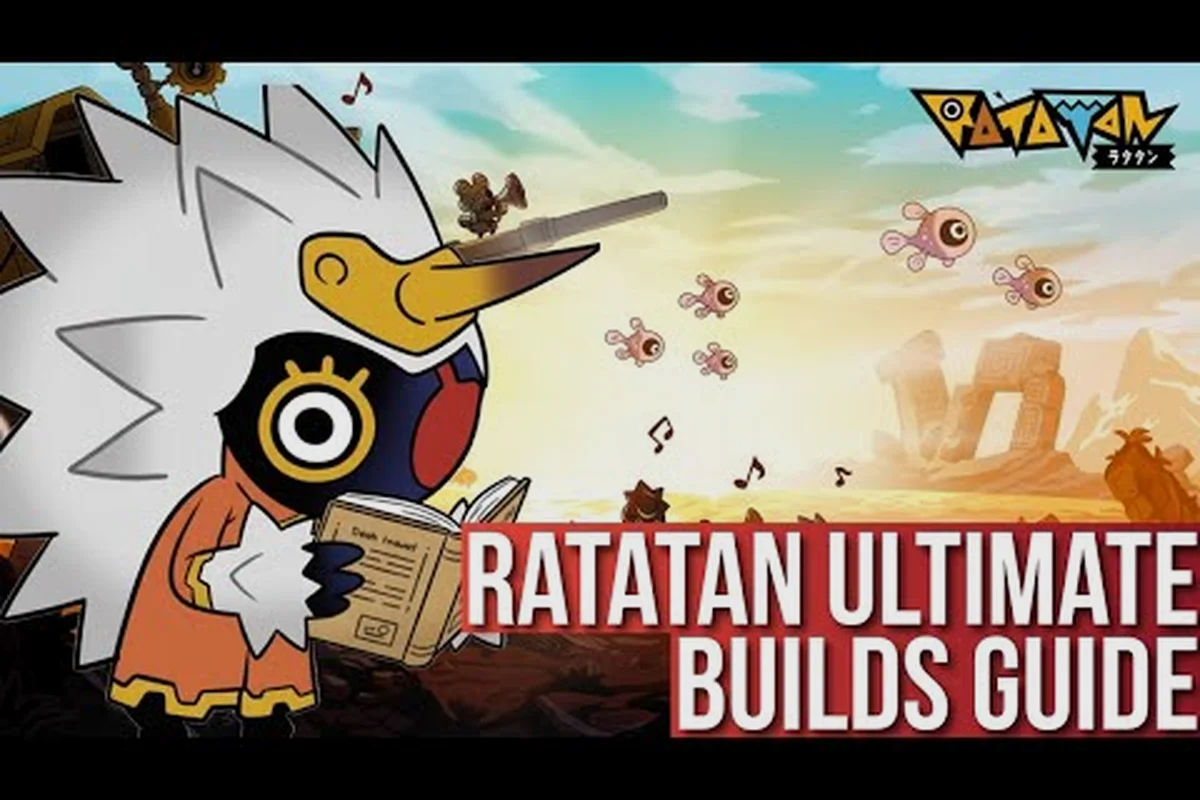
Decorune is the accessory-slot system that turns a basic Cobun squad into a tuned machine, and every serious Ratatan player learns it on the way to World 6. Each Decorune piece attaches to a Mythic weapon or a signature Cobun and grants an effect that rewires how your march, charge, and retreat beats interact. Getting the right one can mean the difference between a stalled Episode 3 run and a clean sweep of the Dark Ratatan. The v1.1.9 patch added several new Mythic Decorune drops tied to bosses like Shellshock and Tangletung, which is why farming routes now matter more than they did during Early Access. This guide breaks down what each Decorune does, which accessories are worth chasing, and the fastest paths to pull the rarest items for your build.
What Decorune Does and How It Fits Into Your Build
The Role of Decorune in Combat
Decorune pieces are equippable accessories that sit alongside your Mythic weapons and stack on top of your Cobun passives. Each one carries a unique effect — extra damage during Fever, conditional crits on specific beat patterns, shield generation on perfect retreats, or stat boosts that scale with march count. The base attack loop stays the same, but the Decorune layer decides whether your squad overwrites the rhythm or simply keeps pace with it. A well-rolled Decorune can push a mid-tier Mythic into top-tier territory without changing a single weapon.
According to the v1.1.9 release notes on Steam, Decorune now ships with dedicated slots for every Mythic introduced in Episodes 3 and 4, which means new accessories are gated to late-game progression rather than dropping from early story stages. Community testing shows that Decorune effects stack additively with Ratakaruta passives, so a build that uses both layers correctly can comfortably clear Episode 4 content without farming endlessly for the perfect roll.
Slot Rules and Stacking Behavior
You can equip one Decorune per Mythic weapon and one per signature Cobun, and the effects from each Decorune do not override one another. Instead, the engine reads them in priority order: weapon Decorune first, then Cobun Decorune, then Ratakaruta. This stacking order matters because a weapon-side Decorune that buffs charge damage will not be overwritten by a Cobun-side Decorune that buffs march count. The trade-off is that you cannot mix and match freely — your Cobun and Mythic must share an element or type to qualify for the best synergy, which is where the ratatan-best-build resource becomes a useful reference when you plan a loadout.
| Slot Type | Max Equipped | Effect Priority | Stacks With |
|---|---|---|---|
| Weapon Decorune | 1 per Mythic | Highest | Cobun Decorune, Ratakaruta |
| Cobun Decorune | 1 per signature Cobun | Mid | Ratakaruta |
| Ratakaruta | 2 active | Lowest | All Decorune |
| Token Buffs | Unlimited | Background | All |
Ratatan Accessories List and Item Categories
The Main Accessory Families
The full Ratatan accessories list breaks into four families, each tied to a different gameplay loop. Offensive Decorune buffs raw damage, crit rate, or status proc chance during specific commands. Defensive Decorune adds shield generation, damage reduction, or revive utility. Rhythm Decorune manipulates Fever timing, beat windows, or march cadence. Utility Decorune covers resource drops, XP gain, and shop discounts. Most players chase the offensive and rhythm families first because they directly affect clear speed, but defensive Decorune becomes mandatory once you reach the Dark Ratatan fights in World 6.
Each family has a common, rare, and mythic version, and the rarity tier determines both the magnitude of the effect and where the piece drops. A common Offensive Decorune might add 8% charge damage, while the mythic version of the same family adds 22% plus a chance to trigger a second hit. Farming routes should always target the highest difficulty stage that still drops the family you need, because the drop rate scales with stage tier rather than story progression.
Rarity and Drop Tier Reference
| Rarity | Effect Magnitude | Drop Source | Stack Limit |
|---|---|---|---|
| Common | 5–10% bonus | Episodes 1–2 stages | No cap |
| Rare | 10–18% bonus | Episodes 2–3 stages | No cap |
| Mythic | 18–30% bonus | Episode 4 / World 6 / Dark Ratatan | No cap |
| Event-Locked | Varies | Seasonal / collaboration stages | No cap |
The Mythic tier is where the ratatan-weapons-list and Decorune guides overlap, because every Mythic weapon released in v1.1.9 ships with a signature Decorune that only drops from the same boss. Panda Monium, for example, drops the Bamboozler set's signature Decorune, and the Tangletung fight gates the new chameleon-themed accessories behind a sub-30-second clear timer.
Ratatan Accessory Effects and How They Change Combat
Effect Categories in Detail
The accessory effects in Ratatan fall into nine broad categories, and each one maps to a different command or rhythm window. Fever Extension adds 2–6 seconds to your Fever window when you land a perfect beat, which compounds across long fights. Charge Crit raises crit chance during the charge command by a flat percentage that scales with march count. Retreat Shield generates a small absorb shield every time you input a clean retreat, and the shield scales with Cobun HP. March Tempo accelerates the metronome, letting you squeeze in one extra command per cycle once Fever is active. Beat Heal restores a percentage of max HP on every fourth perfect beat, which is a strong sustain option for solo runs. Status Burst raises the proc rate of burn, freeze, and shock effects applied through your weapons. Tempo Lock prevents the metronome from slowing down after a missed beat, which removes a major punishment window. Drop Boost raises item drop quantity by a percentage, and XP Boost raises post-battle XP gain. Each effect is rolled independently when the Decorune drops, so two mythic Decorune of the same family can have very different magnitudes.
| Effect Name | Trigger Window | Best For | Stacks With |
|---|---|---|---|
| Fever Extension | Perfect beat | Long boss fights | Charge Crit |
| Charge Crit | Charge command | Burst damage windows | Status Burst |
| Retreat Shield | Retreat command | Survival / World 6 | Beat Heal |
| March Tempo | Active Fever | Clear speed | Fever Extension |
| Beat Heal | Every 4th perfect beat | Solo sustain | Retreat Shield |
| Status Burst | Status proc | Elemental builds | Charge Crit |
| Tempo Lock | Missed beat | Consistency | March Tempo |
| Drop Boost | Stage clear | Farming routes | XP Boost |
| XP Boost | Stage clear | Alt-leveling | Drop Boost |
Effect Synergy and Diminishing Returns
Pairing two effects from the same family gives diminishing returns past the 30% threshold, which is why most optimized builds use one offensive Decorune and one rhythm or defensive Decorune rather than stacking two offensive rolls. Community data suggests the strongest mid-game combination is a Charge Crit weapon Decorune paired with a Fever Extension Cobun Decorune, because the two triggers do not overlap and the Fever window gives the Charge Crit more opportunities to land. A more defensive alternative pairs Retreat Shield with Beat Heal, which lets a solo player clear Episode 4 without burning revive tokens. Players who focus on farming routes should slot Drop Boost and XP Boost on a secondary Cobun, which can be swapped in for clear runs without touching the main build.
Ratatan Accessory Farming Routes and Item Sources
Fastest Farming Paths for Each Rarity
The fastest accessory farming routes in Ratatan depend on the rarity you are targeting. Common Decorune drops freely from any Episode 1 or 2 stage, so the only optimization there is to replay the shortest stage that still gates your Cobun. Rare Decorune drops at a meaningful rate from Episode 3 stages, and the community consensus is that the chorus-stage in Episode 3 has the best time-to-drop ratio because the stage is under four minutes and features a guaranteed mini-boss with an accessory chest. Mythic Decorune is gated to Episode 4 stages, World 6 sub-bosses, and the Dark Ratatan fights themselves, which means a Mythic farming run typically takes 10–15 minutes per attempt.
The v1.1.9 patch added two new farming hotspots: the Bamboozler arena, which drops Bamboo set Decorune at a higher rate than any other stage, and the Tangletung chase sequence, which gates chameleon Decorune behind a sub-30-second clear. Both routes are repeatable, but Tangletung is gated by a timer, so it rewards optimized builds more than raw drop luck. According to player reports on the Ratatan edition comparison on Steam, the most consistent Mythic Decorune source is the World 6 hub shop, which rotates its inventory every two hours of real time.
| Rarity | Best Stage | Avg Clear Time | Drop Rate | Notes |
|---|---|---|---|---|
| Common | Episode 1-4 | 2–3 min | High | Stack freely |
| Rare | Episode 3 chorus | 4 min | Medium | Guaranteed chest |
| Mythic | World 6 hub shop | 1 min per roll | Low | Rotates every 2h |
| Mythic | Bamboozler arena | 12 min | Medium | Bamboo set only |
| Mythic | Tangletung chase | 8 min | Medium | Timer-gated |
| Mythic | Dark Ratatan | 15 min | High per kill | One Decorune guaranteed |
Token and Shop Strategy
Tokens are the soft currency that lets you re-roll Decorune stats and buy direct Decorune pieces from the hub shop. The ratatan-permanent-upgrades guide covers which token upgrades to prioritize first, but for farming specifically you want to max the Drop Boost token upgrade and the shop refresh token upgrade before anything else. Drop Boost compounds with the Drop Boost Decorune effect, so stacking both can push a single clear to drop 30–40% more items than an unoptimized run. The shop refresh upgrade reduces the cooldown between hub shop rotations, which is the only way to consistently see Mythic Decorune without burning stamina on boss replays.
A typical 30-minute farming block should look like this: spend 10 minutes on the Bamboozler arena, 10 minutes on the Episode 3 chorus stage, and the final 10 minutes refreshing the hub shop and re-rolling any Mythic Decorune with below-20% magnitude. This rotation respects the stamina economy and keeps you in the drop-rate sweet spot for both rarity tiers.
How to Get Items in Ratatan and Build Your Decorune Stash
Primary Item Acquisition Channels
There are six primary channels for acquiring items in Ratatan, and each one favors a different playstyle. Stage clears are the bread-and-butter source and account for roughly 60% of all Decorune drops in a typical session. Boss kills guarantee at least one Decorune drop, and Dark Ratatan kills guarantee a Mythic roll. Hub shop purchases let you buy specific Decorune directly with tokens, but the inventory is small and rotates. Daily and weekly missions reward fixed Decorune pieces that match the current season's theme, which is a reliable way to fill gaps in your collection. Achievement rewards unlock a handful of unique Decorune tied to specific challenges, like clearing Episode 4 without dying or hitting a Fever combo longer than 60 seconds. Event stages rotate seasonally and often introduce limited Decorune that cannot be obtained any other way.
| Source | Drop Quality | Volume | Predictability |
|---|---|---|---|
| Stage clears | Mixed | High | Medium |
| Boss kills | Rare–Mythic | Medium | High |
| Hub shop | Rare–Mythic | Low | High |
| Daily missions | Fixed seasonal | Medium | Very high |
| Achievements | Unique | Very low | Very high |
| Event stages | Limited | Medium | High |
How to Get Items Efficiently
Efficient item acquisition comes down to respecting the stamina curve and chaining high-yield stages back-to-back. The most common mistake newer players make is bouncing between stages at random, which leaves the drop-rate bonus from consecutive clears un-stacked. Instead, run the same stage four to six times in a row to max the consecutive-clear bonus, then swap to a different stage for a fresh bonus window. Pair this with a Drop Boost Decorune and a Drop Boost token upgrade, and the per-hour item yield roughly doubles compared to a baseline run.
A second efficiency lever is boss replay, which the ratatan-characters-list page indirectly supports by helping you pick the right Cobun for each boss. A well-matched Cobun cuts boss clear time by 20–30%, which means more boss kills per stamina bar. Combine boss replay with a Token Boost rhythm Decorune and you can sustain a Mythic farming pace for an hour or more without running dry on resources.
Decorune Tier Priorities and Best-in-Slot Picks
Priority Decorune by Build Archetype
Not every Decorune deserves equal attention, and chasing the wrong one is a fast way to burn stamina without improving your build. The community has settled on a fairly stable priority list for each archetype. For a charge-damage build, the priority order is Charge Crit weapon Decorune, Fever Extension Cobun Decorune, Status Burst filler, then a defensive piece. For a sustain-focused solo build, the order is Beat Heal, Retreat Shield, Tempo Lock, then Drop Boost. For a farming-focused loadout, Drop Boost and XP Boost lead, followed by Tempo Lock, then any high-magnitude rare effect you have not yet slotted.
The ratatan-lightning-ratakaruta-tier resource is a useful cross-check for which Decorune effects pair well with which Ratakaruta, because the best Decorune is often the one that fills a gap left by your Ratakaruta passives rather than doubling up on a strength.
Best-in-Slot Decorune Reference
| Build Archetype | Weapon Decorune | Cobun Decorune | Filler Slot |
|---|---|---|---|
| Charge damage | Charge Crit (Mythic) | Fever Extension (Mythic) | Status Burst (Rare) |
| Solo sustain | Beat Heal (Mythic) | Retreat Shield (Mythic) | Tempo Lock (Rare) |
| Farming | Drop Boost (Mythic) | XP Boost (Mythic) | Drop Boost (Rare) |
| Elemental | Status Burst (Mythic) | Fever Extension (Rare) | Charge Crit (Rare) |
| World 6 boss | Retreat Shield (Mythic) | Tempo Lock (Mythic) | Beat Heal (Rare) |
A common trap is to equip a Mythic Decorune with a low-magnitude roll, which can be worse than a high-magnitude Rare. The re-roll system at the hub shop lets you swap a single stat on a Decorune for a token fee, and most players should re-roll any Mythic Decorune that lands below 20% magnitude before slotting it. This is also where ratatan-best-build recommendations become useful, because the recommended builds typically assume 22%+ magnitude on key effects.
Decorune Synergy With Mythic Weapons and Cobun
Mythic-Specific Decorune Drops
Each Mythic weapon released in v1.1.9 ships with a signature Decorune that only drops from the same boss encounter. The new Mythic Decorune in this patch are tied to Shellshock the turtle, Panda Monium the panda, The Bamboozler the bamboo shoot, and Tangletung the chameleon, which means there are now four boss-locked Decorune to chase on top of the generic pool. These signature Decorune tend to have stronger effects than their generic cousins — typically 25–30% magnitude — but they are also harder to farm because they require repeated boss kills rather than stage clears.
Community testing shows that signature Decorune often carries a secondary effect that is not listed on the tooltip, which can range from a hidden HP boost to a conditional proc on the boss that drops them. This makes signature Decorune particularly valuable for the Dark Ratatan fights, where the extra magnitude can shave several seconds off a clear.
Cobun Pairing Rules
Cobun pairing follows a simple rule: the Cobun must share an element with the Mythic weapon for the Decorune synergy to activate. A fire Mythic paired with a water Cobun will not trigger the Cobun-side Decorune effect, even if both Decorune are equipped. The community has mapped out the best pairings on the ratatan-characters-list resource, but the rule of thumb is to match element first and stat curve second. A matched Cobun also unlocks a hidden dialogue line in the hub, which has no gameplay effect but signals to veteran players that you have done the homework.
Frequently Asked Questions
What is Decorune in Ratatan?
Decorune is the accessory slot system in Ratatan that layers unique combat effects on top of your Mythic weapons and signature Cobun. Each piece grants a specific bonus — like Charge Crit, Beat Heal, or Fever Extension — and the effects stack additively with your Ratakaruta passives. According to the v1.1.9 release notes, every Mythic introduced in Episodes 3 and 4 now ships with a dedicated Decorune, which is why the system matters more than it did in Early Access.
What are the best accessories to farm first as a new player?
New players should prioritize a Common or Rare Drop Boost Decorune and a Beat Heal or Retreat Shield piece before chasing Mythic rolls. Drop Boost compounds with the token upgrade of the same name, which lets you pull more Decorune per farming run. Defensive Decorune becomes mandatory once you reach the Episode 3 chorus stage, because the difficulty spike punishes raw damage builds that lack sustain.
How long does it take to farm a full set of Mythic Decorune?
A full Mythic Decorune set typically takes 8–12 hours of focused farming for a player who has cleared Episode 4 and unlocked the World 6 hub shop. The fastest path is to chain Bamboozler arena runs, Tangletung chase sequences, and hub shop refreshes on a 30-minute rotation. According to player reports, the World 6 hub shop rotation is the most consistent Mythic source, but it is gated by real-time cooldowns rather than stamina.
Can you re-roll Decorune stats in Ratatan?
Yes, the hub shop offers a re-roll service that lets you swap one stat on a Decorune for a token fee. Most players re-roll any Mythic Decorune that lands below 20% magnitude, because a low-roll Mythic is often worse than a high-roll Rare. The re-roll does not change the effect category, only the magnitude, so a Charge Crit Decorune will always roll Charge Crit.
Do Decorune effects carry over to co-op play?
Decorune effects apply to your own squad only in co-op, which means each player needs to bring their own tuned accessories. A four-player team that has each member slot a different defensive Decorune can layer multiple shield sources, which is a strong strategy for the Dark Ratatan fights. Cross-play works between Steam, Switch 2, and Xbox Series X|S, but Decorune progression does not sync between platforms, so each save file must be farmed independently.